In the event of the mail server being busy hung up on something(most of the cases, if you are sending/receiving a large email attachments), you may get a pop-up window saying “Server Timeout”.
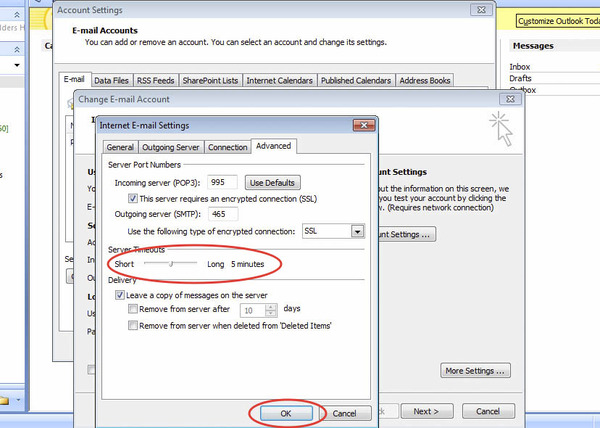
The solution is to extend the amount of time Outlook will wait until it deems the sending/receiving to have failed. The default is 1 minute, so extending this to 5mins should do the trick
Here is an instruction how to change the Outlook server timeout setting:
In Outlook 2007 case:
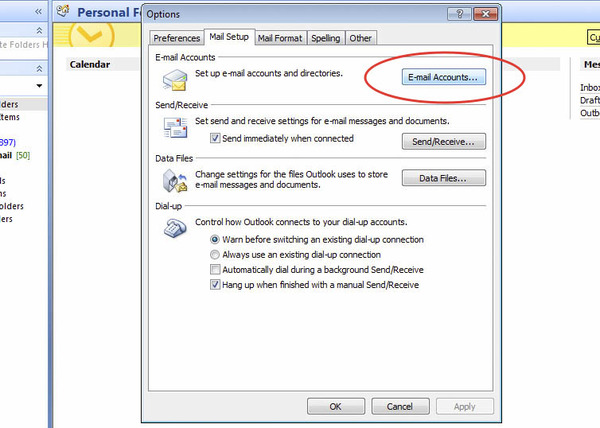
- From the Tools menu, select E-mail Accounts…
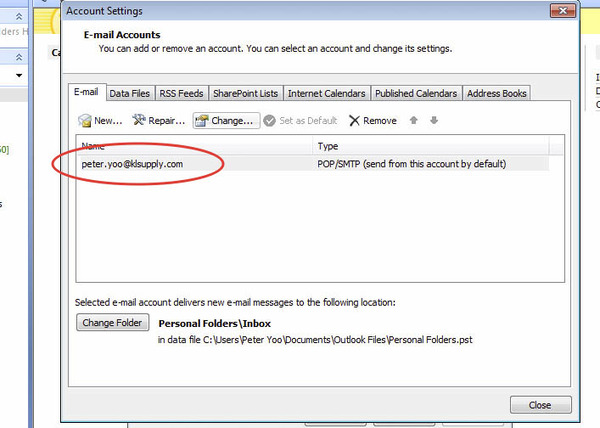
- Select View or change existing e-mail accounts and click Next.
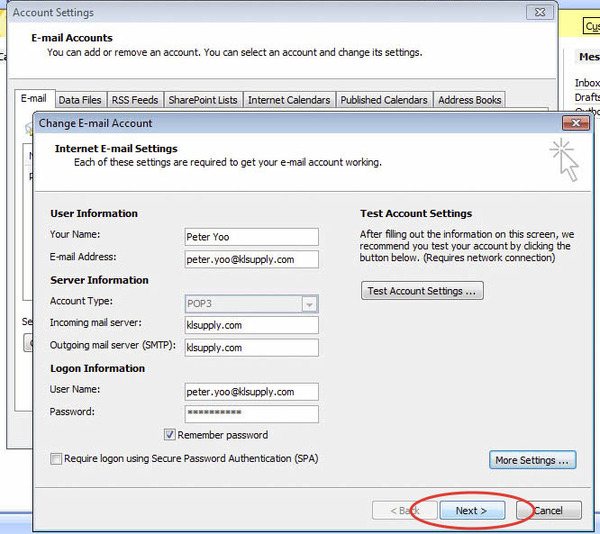
- Select the e-mail you want to modify and click Change.
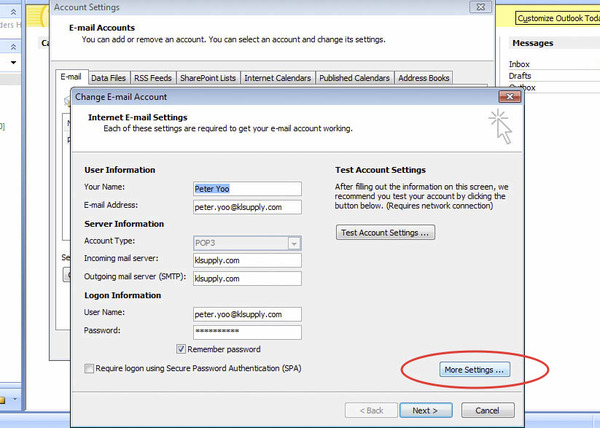
- To bring up the Internet E-Mail Settings window, click More Settings…
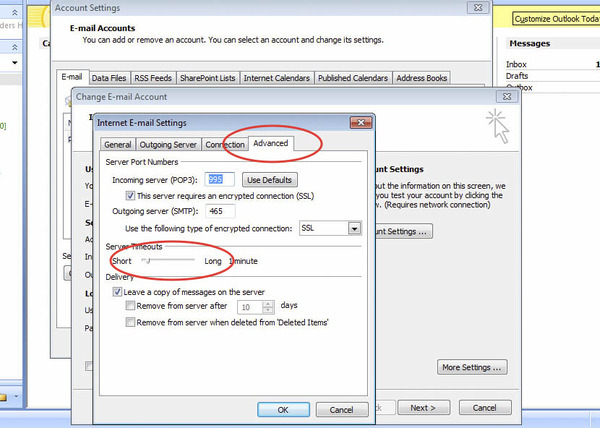
- Select the Advanced tab.
- Left click on the slide-point and drag to the far right side (10 minutes). By changing the setting, you can avoid the above error message.
- Click Apply and then OK.
In Outlook 2010 case:
- Click on the orange ‘File’ tab.
- Under the ‘info section, click on the ‘Account Settings’ button and then on the ‘Account Settings…’ option from the menu. The Account Settings window will open.
- Under the ‘E-Mail’ tab, find the IMAP account affected, select it and click on the ‘Change…’ button (or double-click it)
- Click on the ‘More Settings…’ button.
- Under the ‘Advanced’ tab you will find the ‘Server Timeouts’ option.
- Move the slider towards the right (long) to the desired value (5mins?)
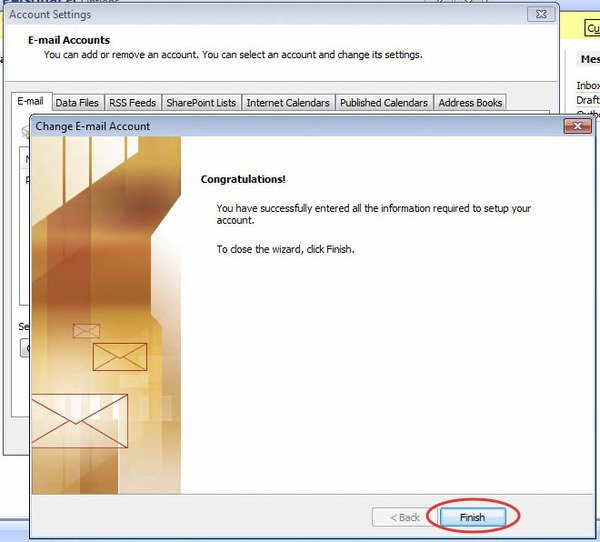
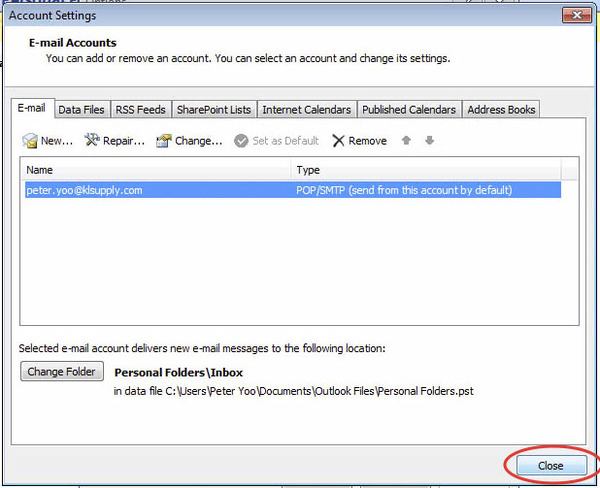
- Click OK and close all the windows.
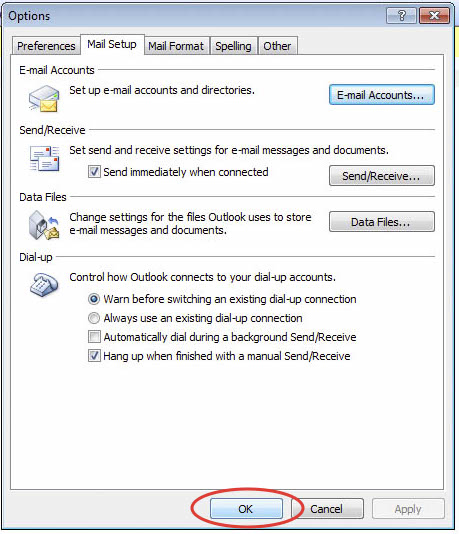
Here are some screen shots:

