theCloudAtWork is the new Hosting Company for Sage100 and they use RemoteApp and Desktop Connections for the access to the hosted applications including Sage100
You will be needing theCloudAtWork username and password in order to complete these steps – if you have not received these info, please contact Peter(peter.yoo@klsupply.com) for help.
Here is the step by step instructions
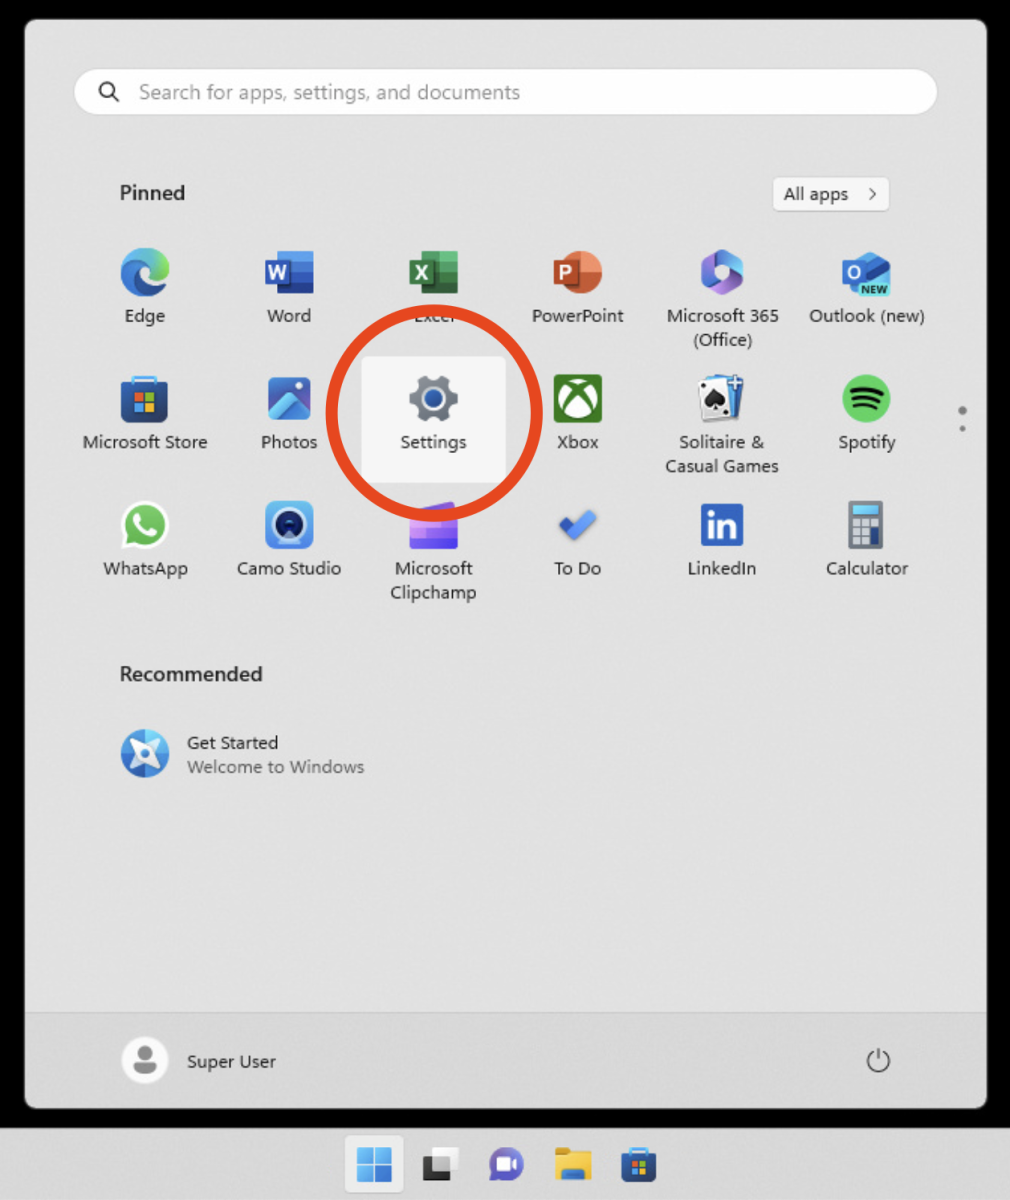
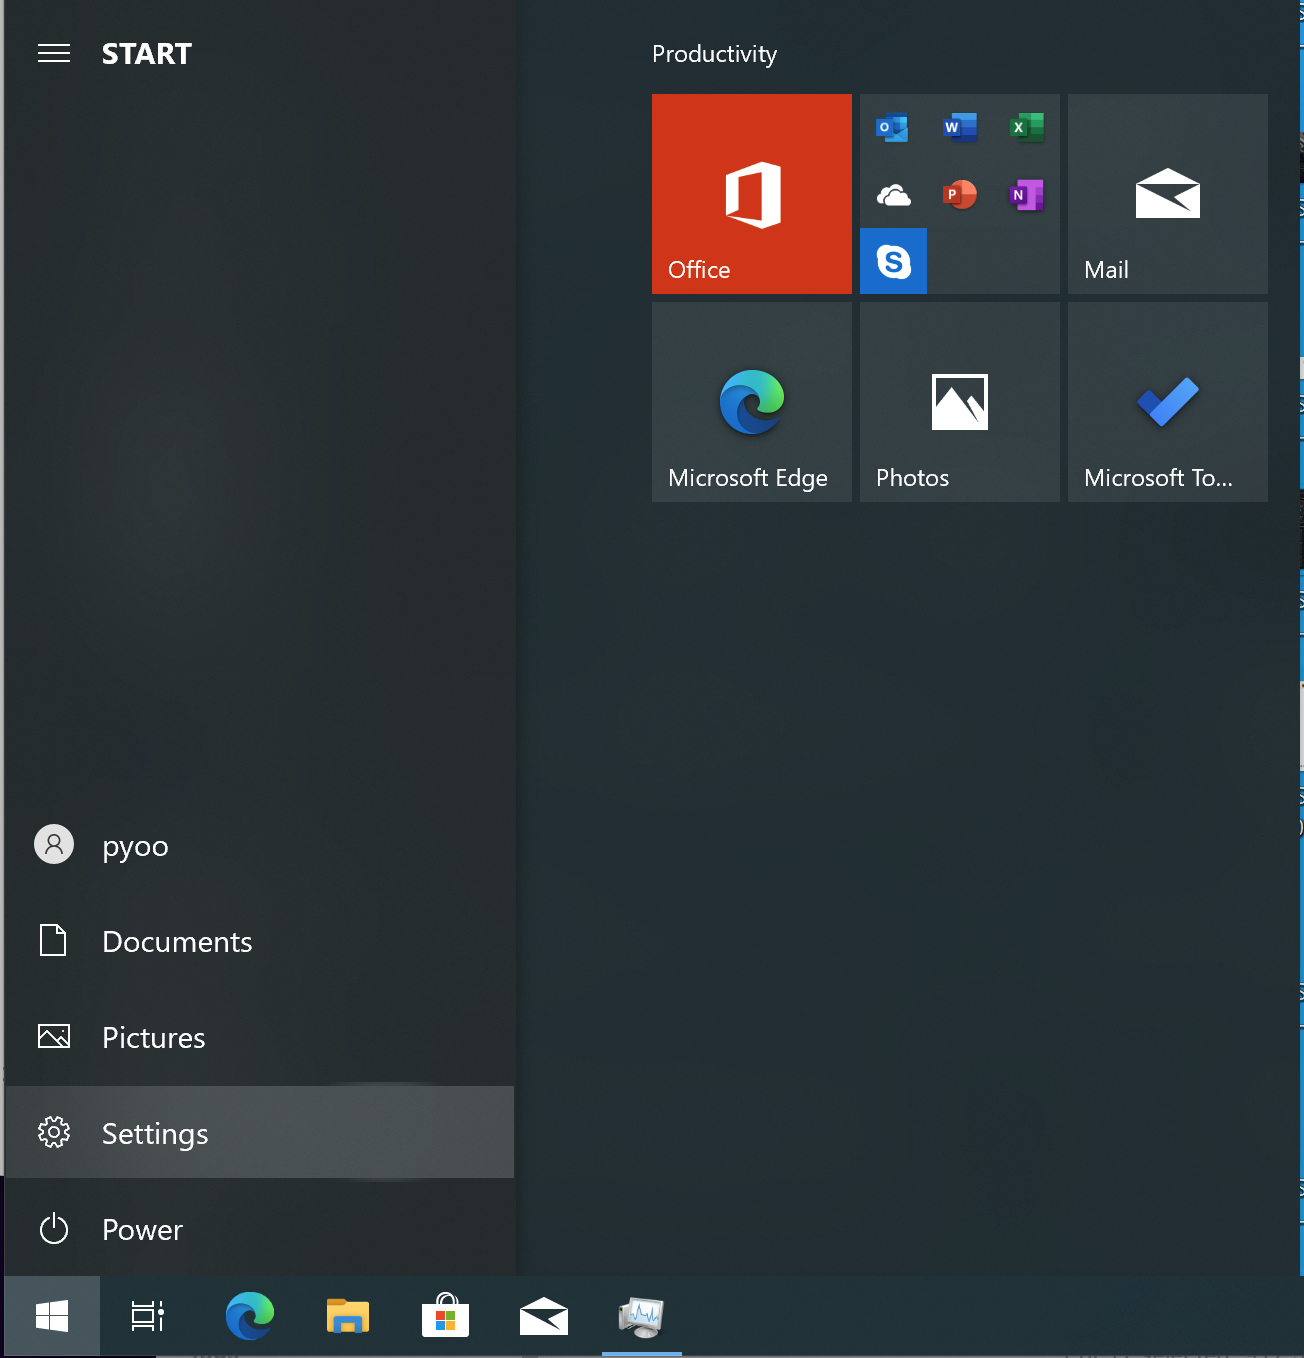
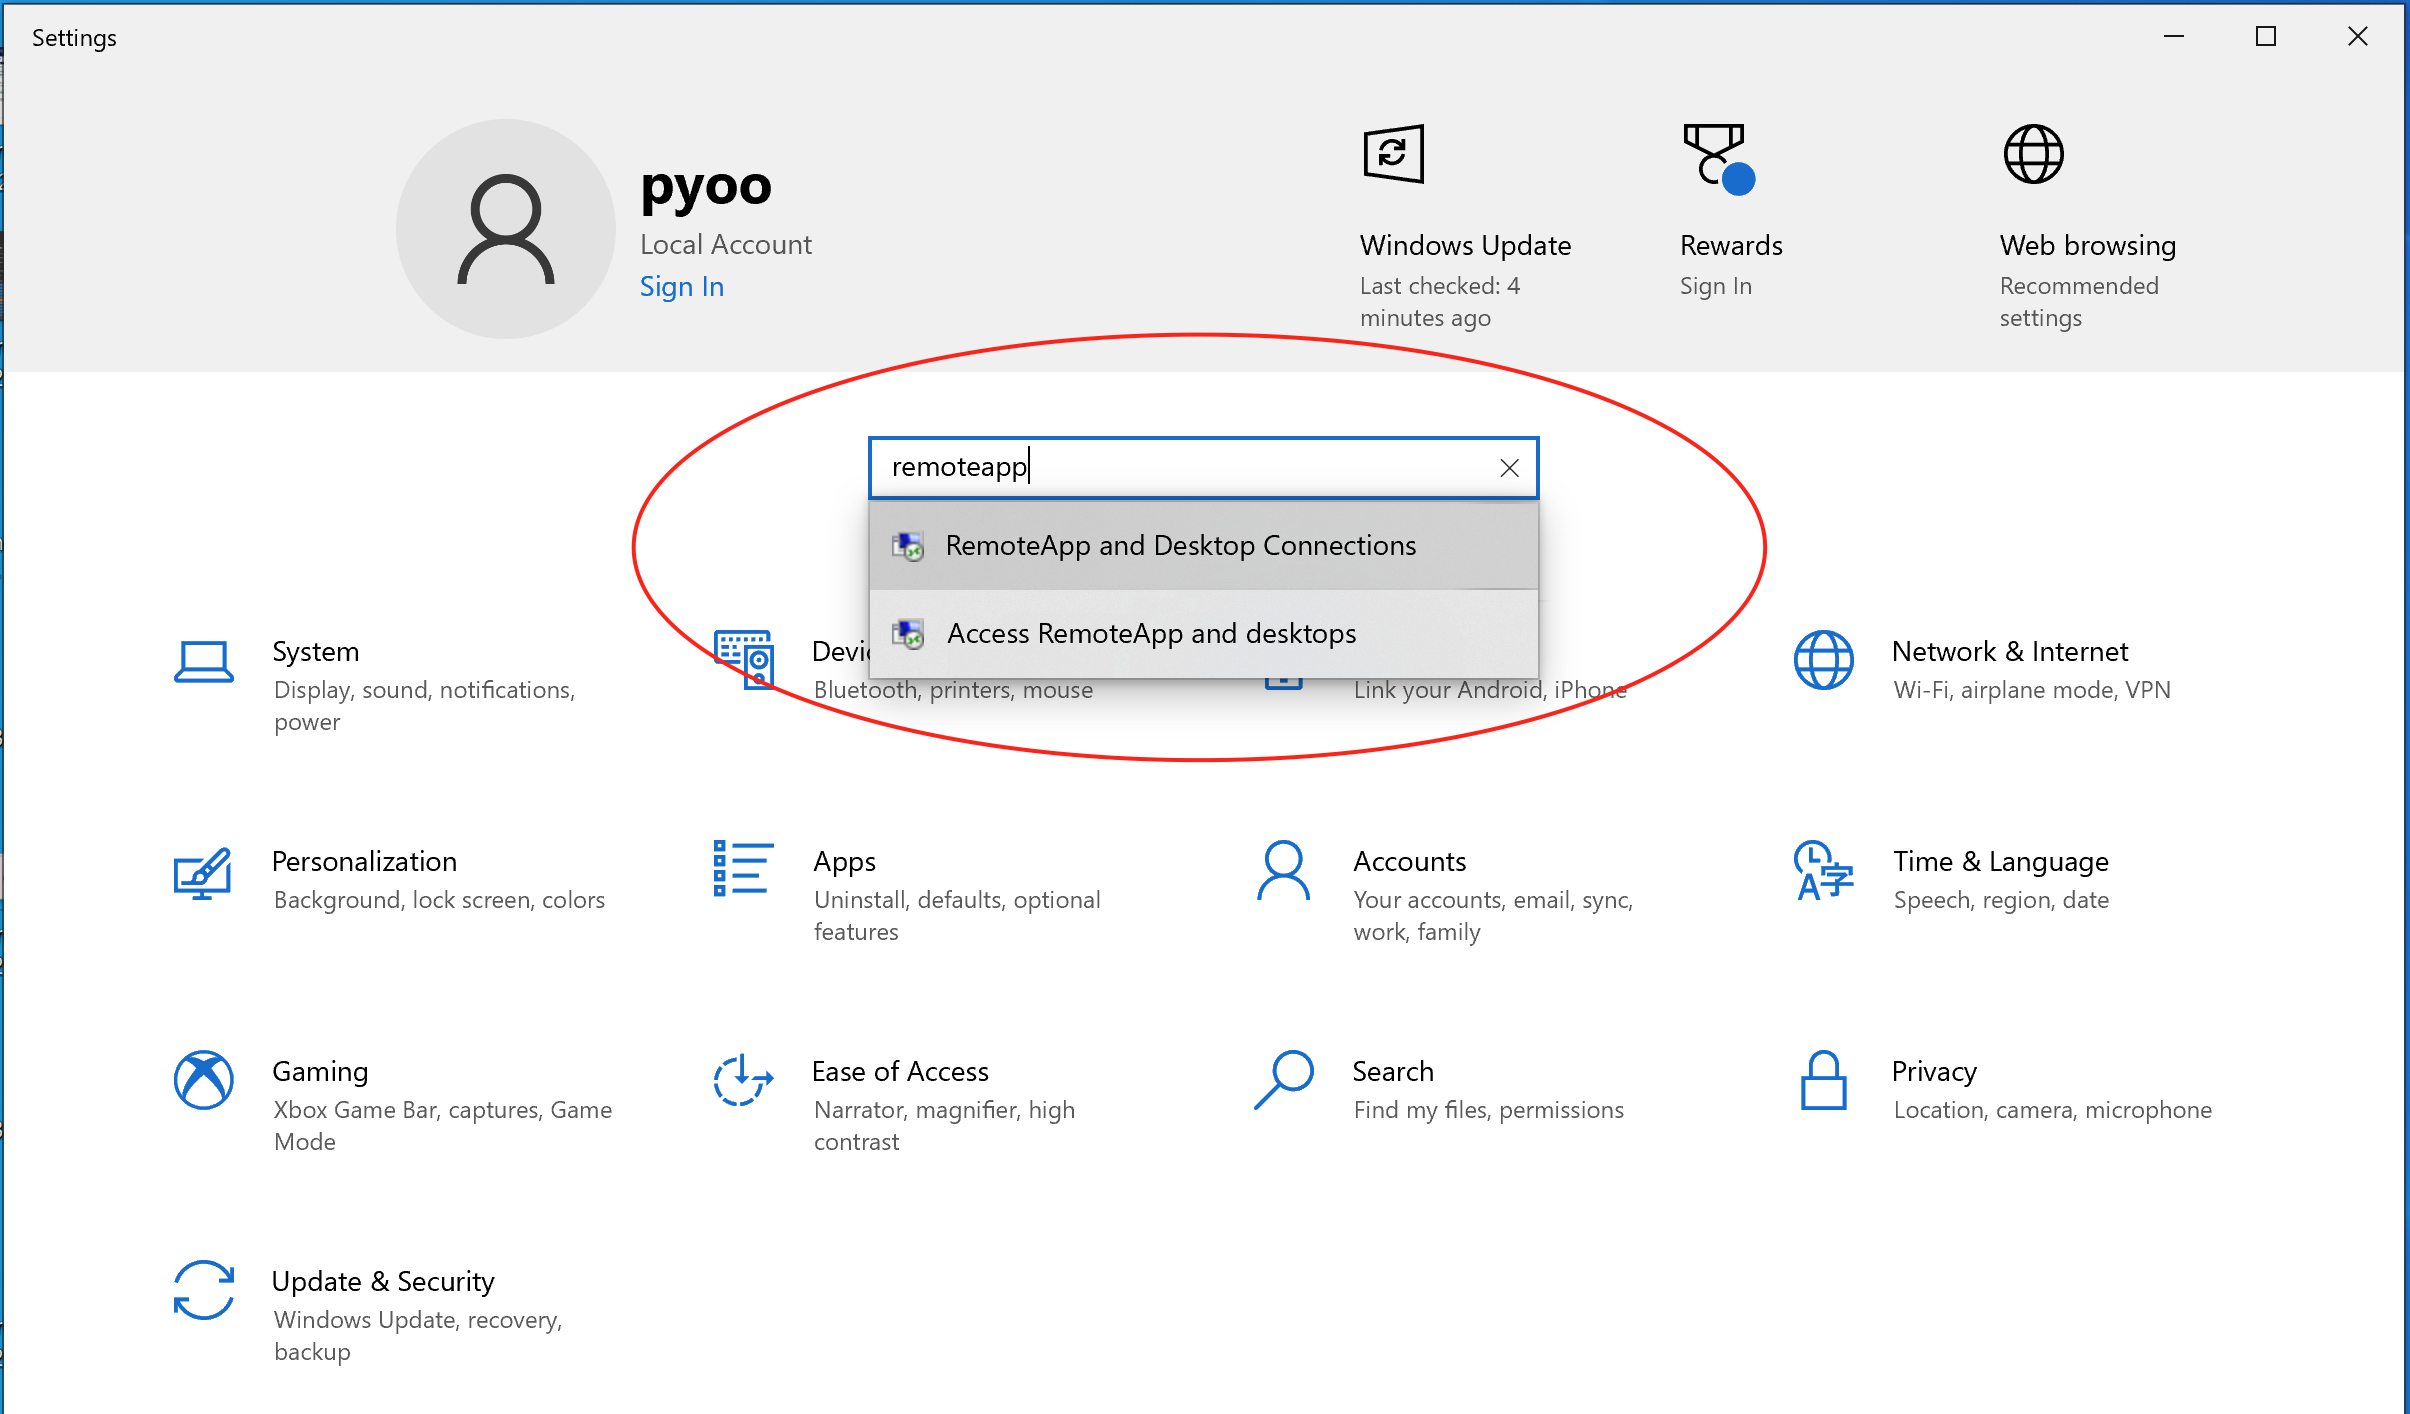
Click on the Windows Start Button -> Settings:
When Control Panel Windows pops up, type in “remoteapp” in the Search Window then Select “RemoteApp and Desktop Connections”:
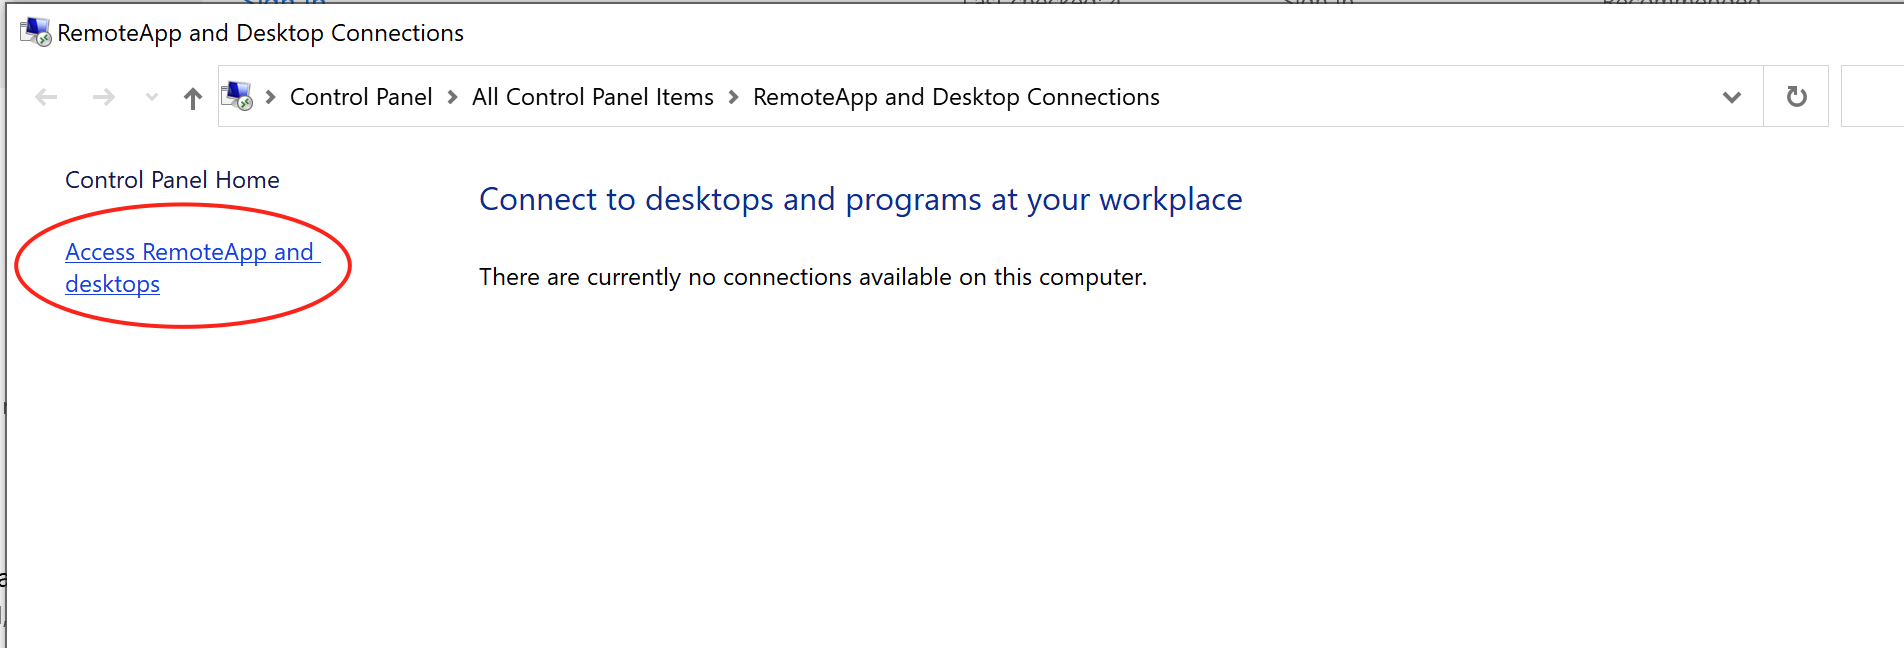
RemoteApp and Desktop Connections windows will pop-up, on the left column, select “Access RemoteApp and desktop”:
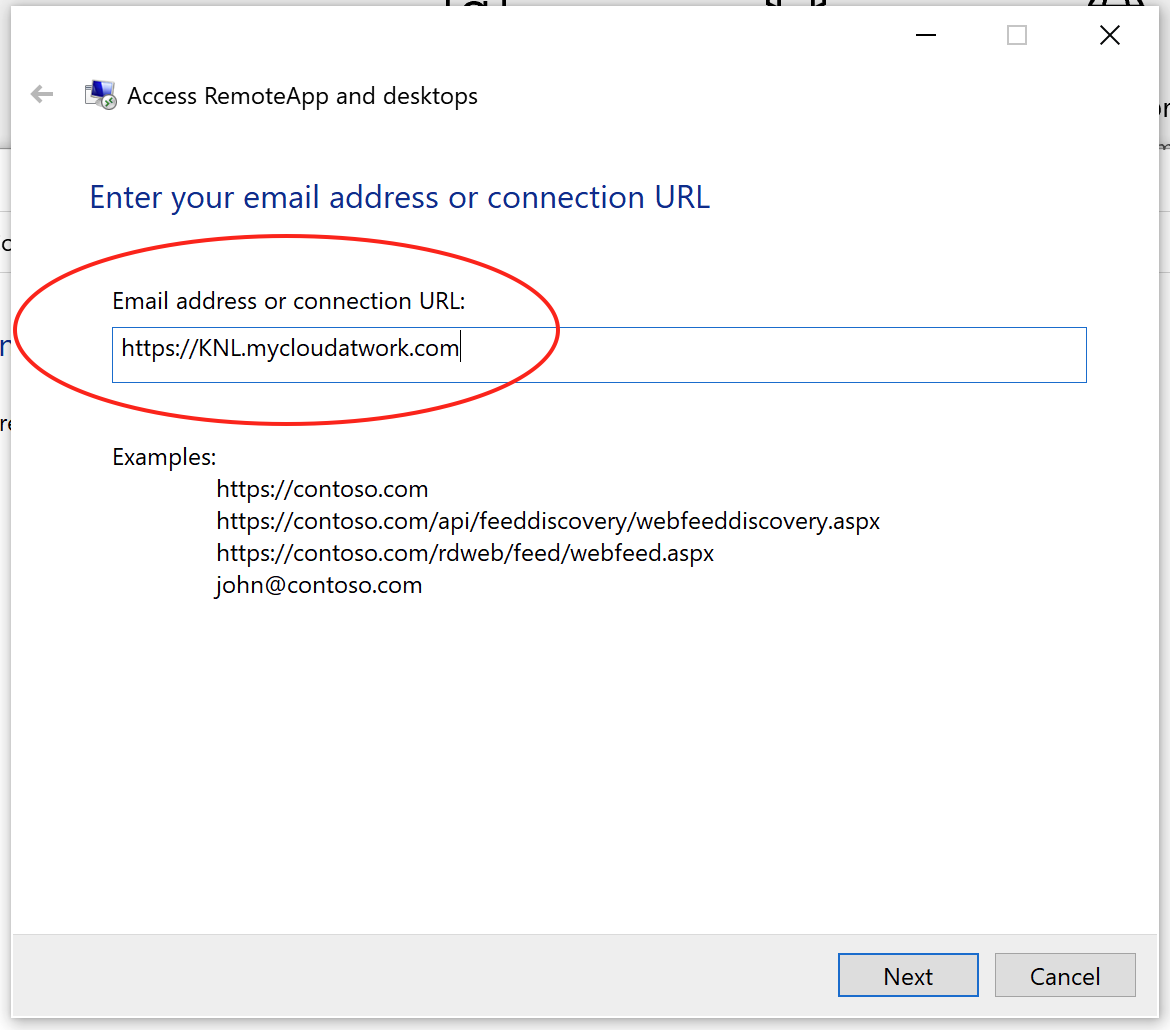
When “Access RemoteApp and desktop” windows pops up, type in “https://KNL.mycloudatwork.com” in the connection URL: field then click “Next” button at the bottom:
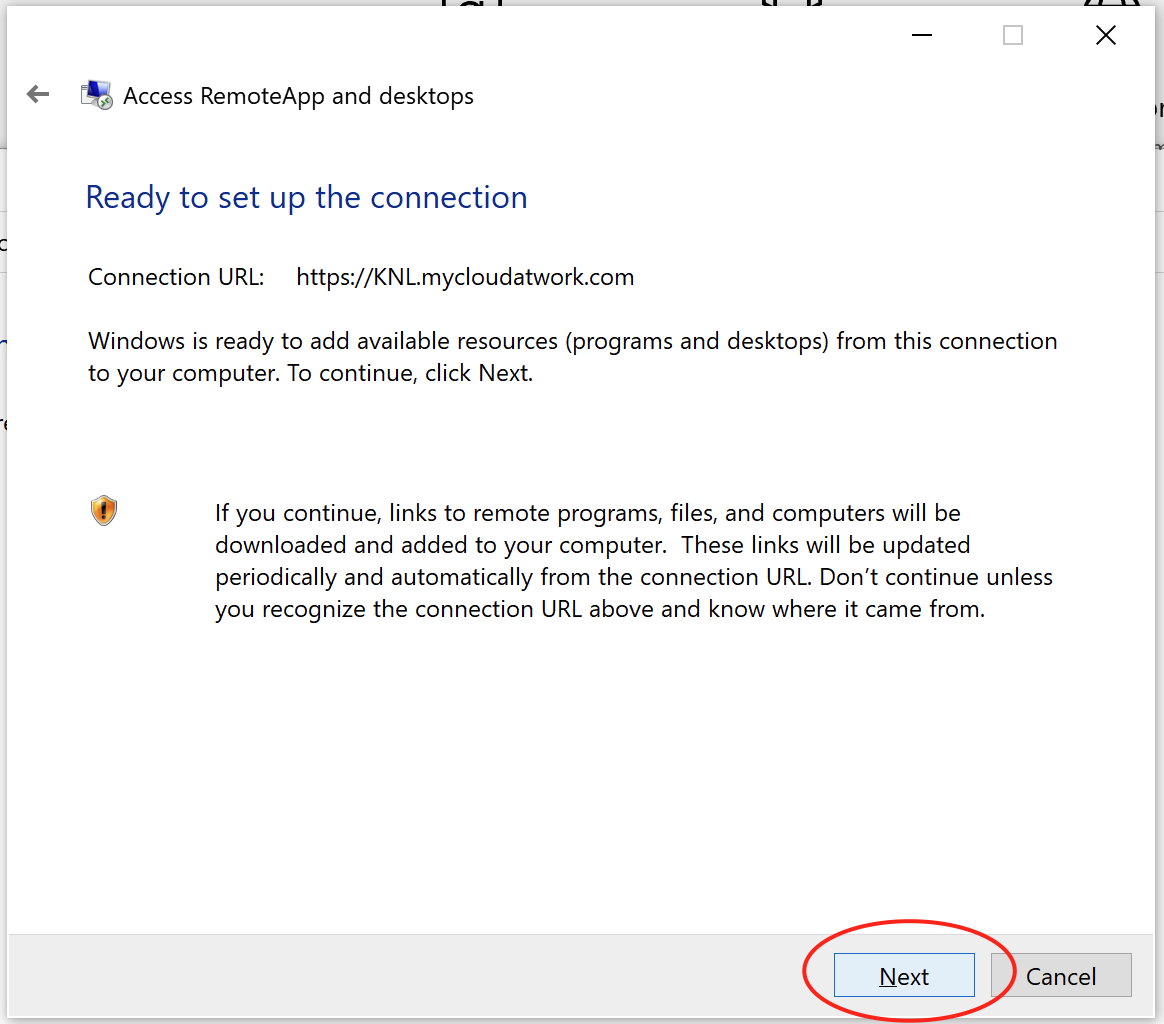
A confirmation windows woo show, click on the “Next” button at th bottom:
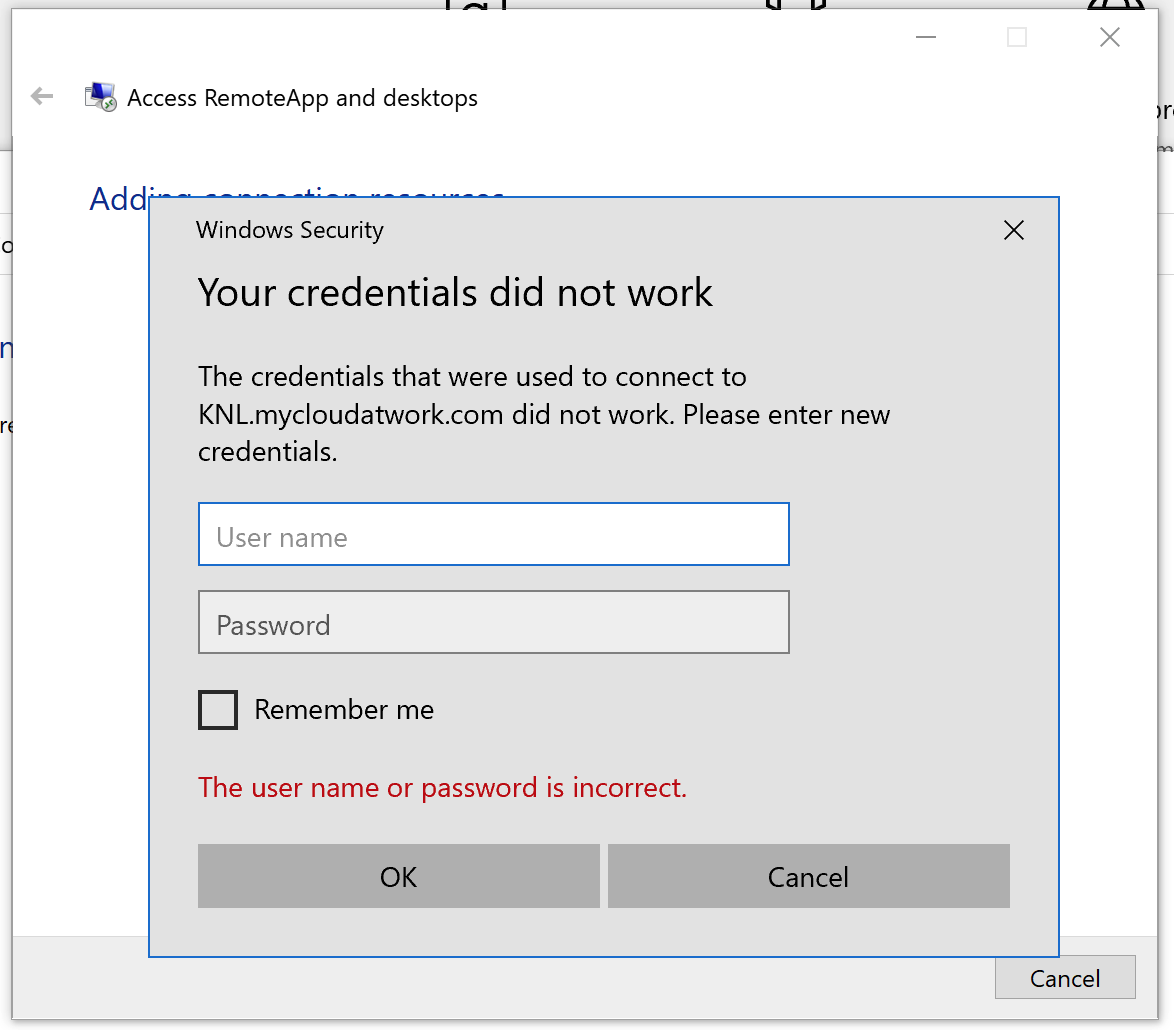
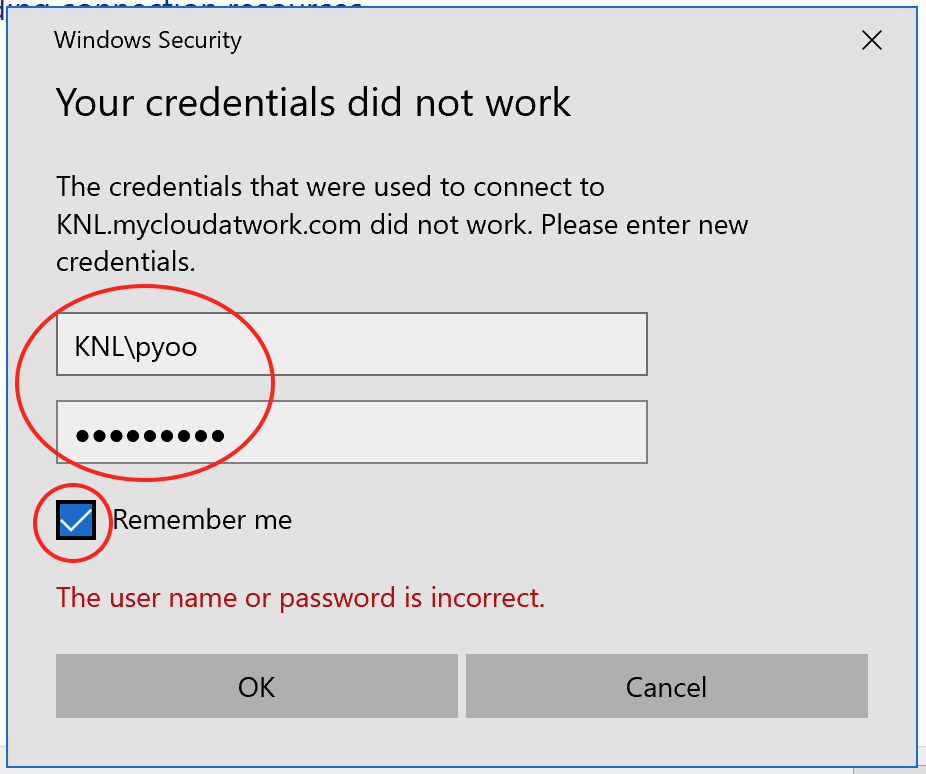
You will be prompt for your credential – username & password:
Here, you will enter the username and password that were provided to you. Please note that your username has “KNL\”, e.g. “KNL\jdoe”. Make sure to click on “Remember me” box as shown below and click on “OK” button:
It will take a few minutes, please allow it to verify your credential and establish the connections for you:
Once all is done, you will get some similar to the following window. Please click on the “View resources” link below – You may see “Hosted0002103” which is goToMyERP session. Do not select this instead, make sure to click on the “View resources” under “Work Resources” :
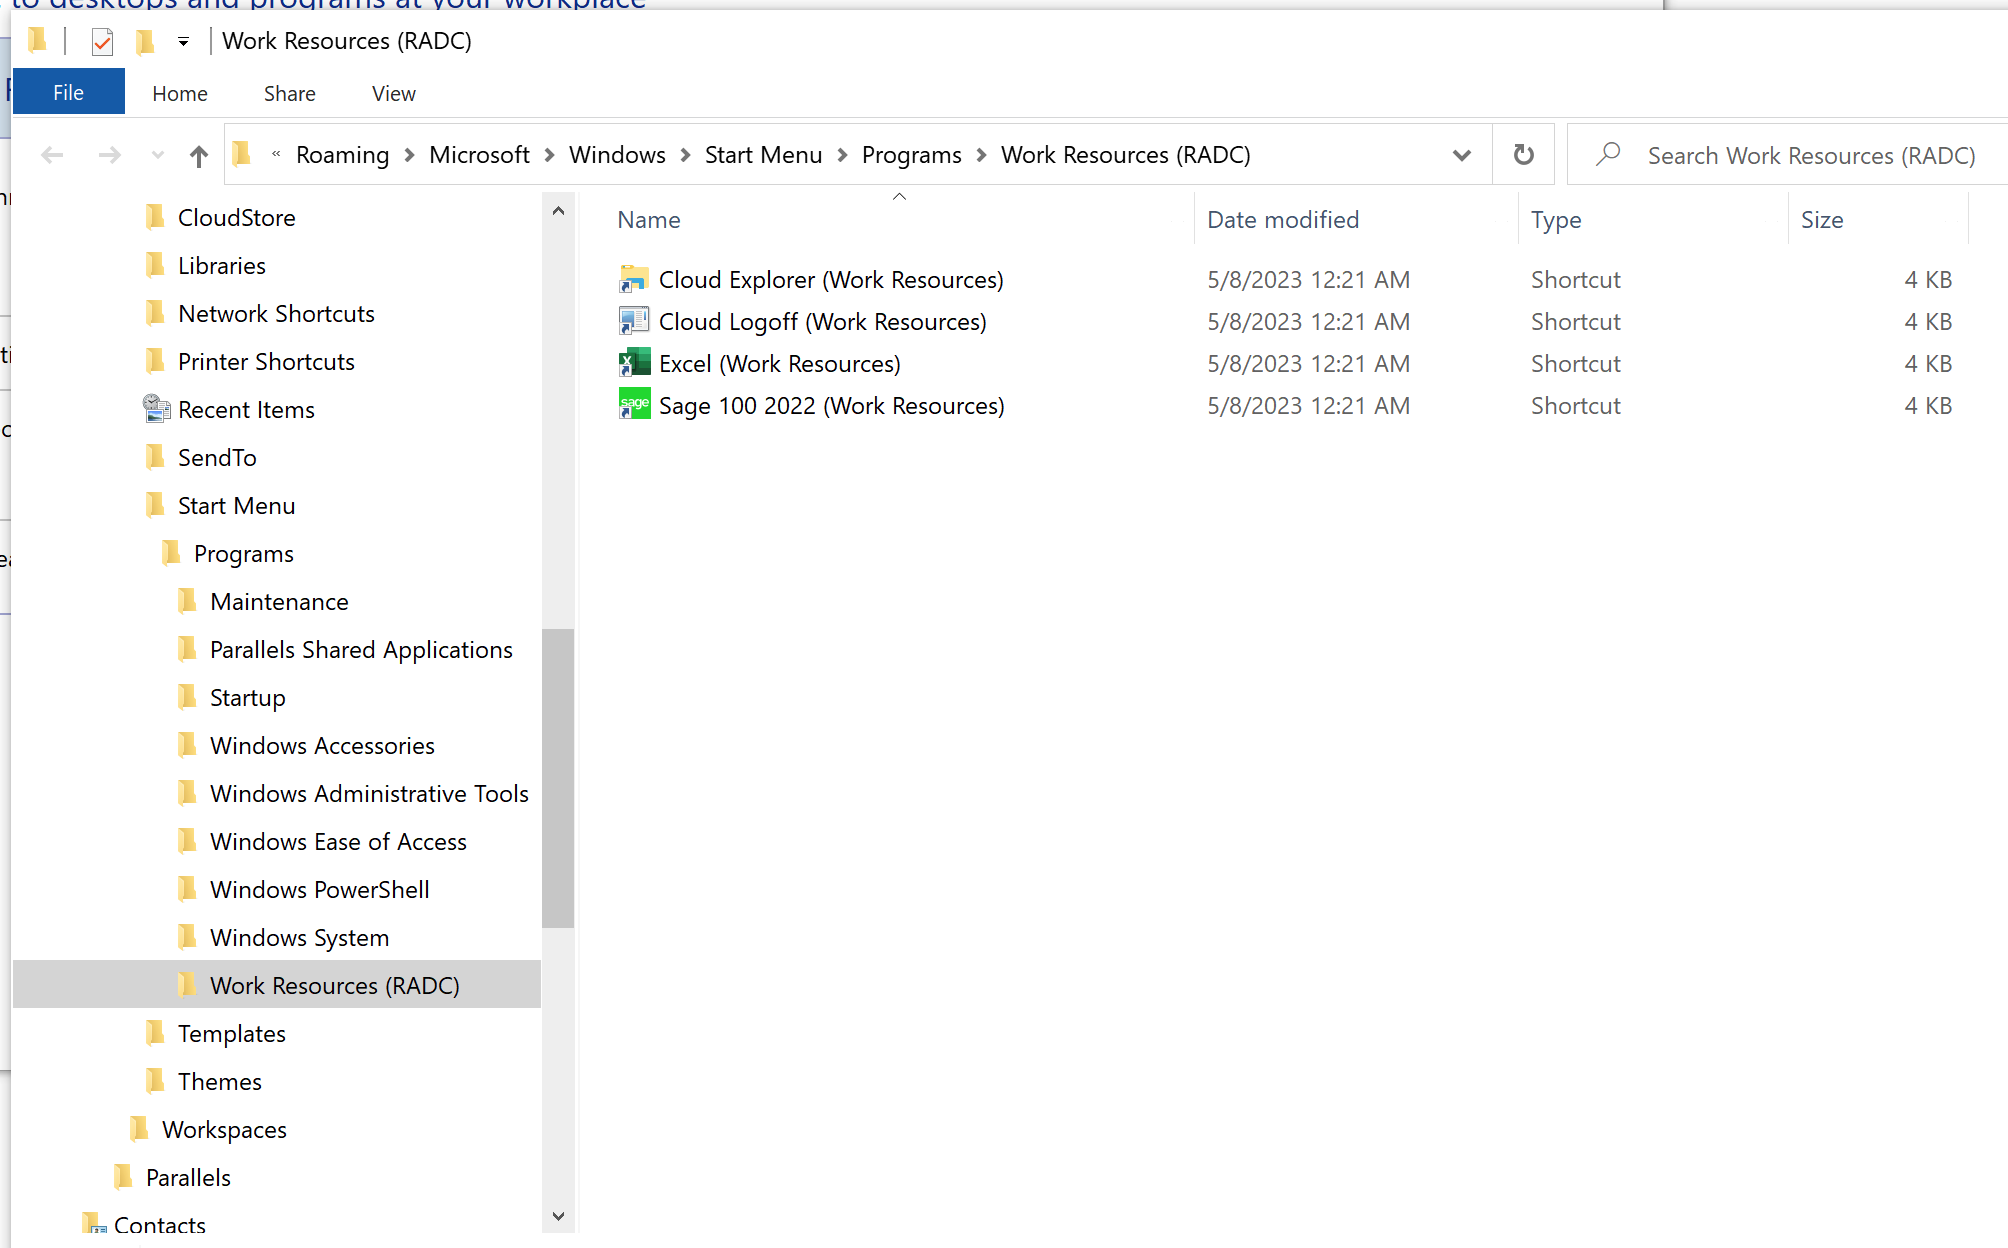
You will be presented with Applications that you have access to including “Sage 100 2022”: Here you can double-click on “Sage 100 2022” to access Sage.
You want to follow the rest of the steps to create a shortcut link to RADC(RemoteApp and Desktop Connections) so you can access these application easily next time.
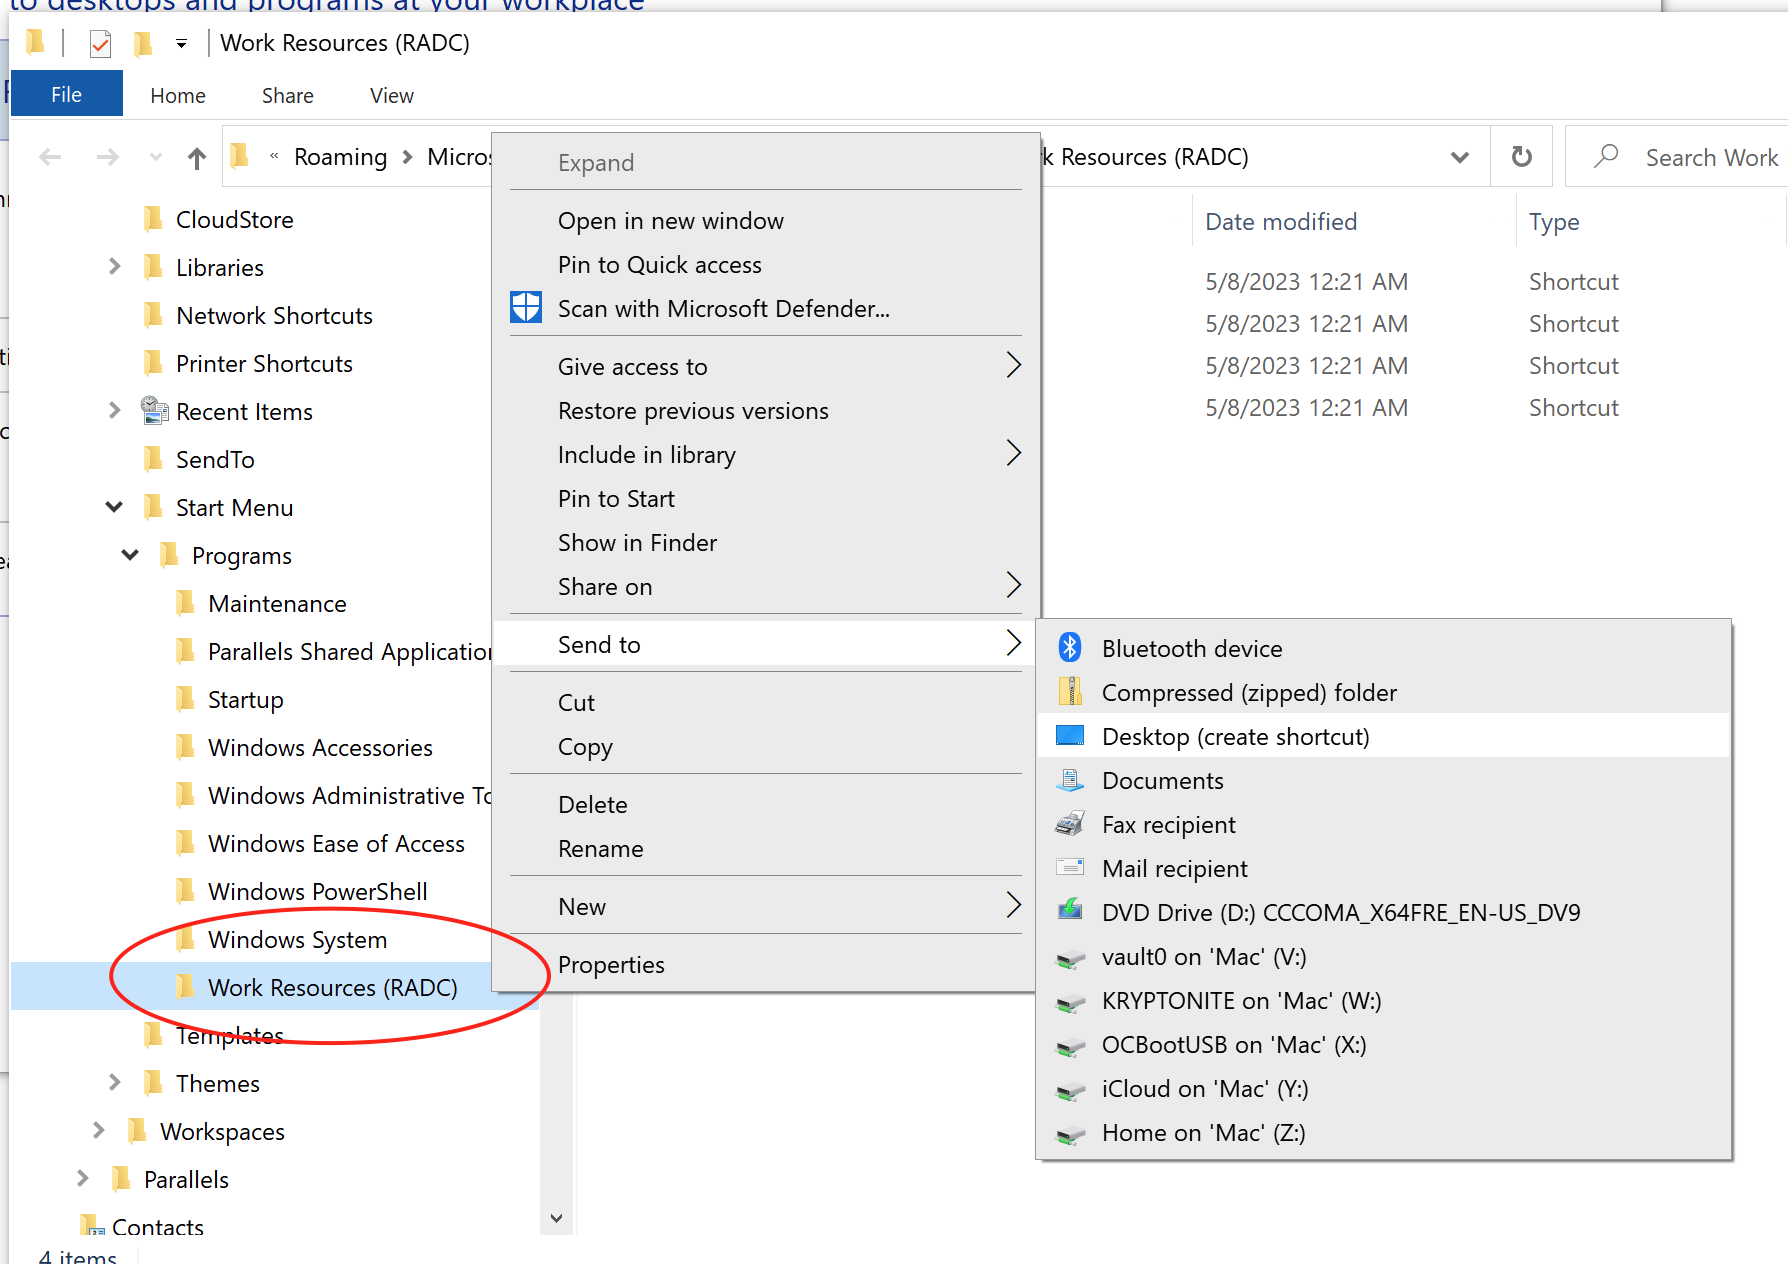
Scroll down on the left panel to see the highlighted “Work Resources (RADC)” then right-click on it then select “Send to” then select “Desktop (create shortcut) as shown below:
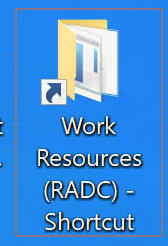
Now, if you look at your Desktop, we will see the below icon:
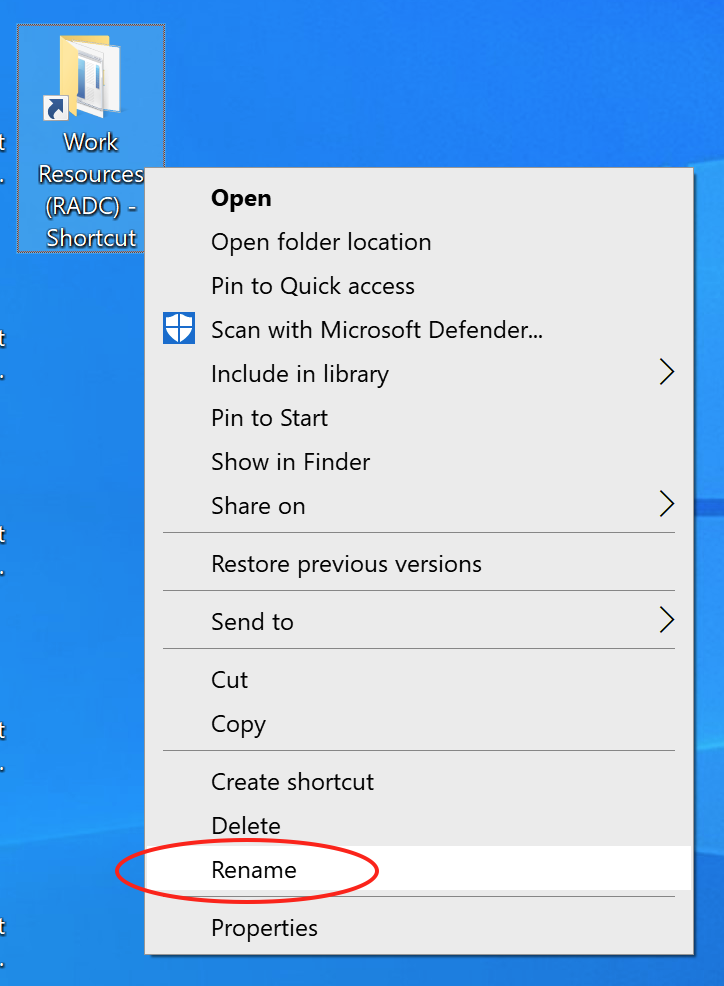
In order to make it sense, let’s rename this to “theWorkAtCloud”. Right-click on this icon and select “Rename” like below:
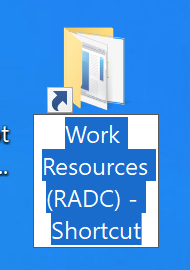
This will highlight the name of the icon and let you rename it:
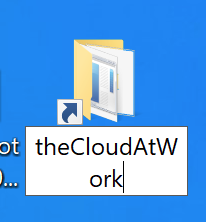
Start typing “theCloudAtWork”:
Once you are done, hit “Enter” key:
Now you have “theCloudAtWork” RemoteApp and Desktop Connection created with your credential and also created a shortcut on your Desktop to access all the applications on the hosting server, including “Sage 100”.
Double-click on the “Sage 100” icon and start using it!
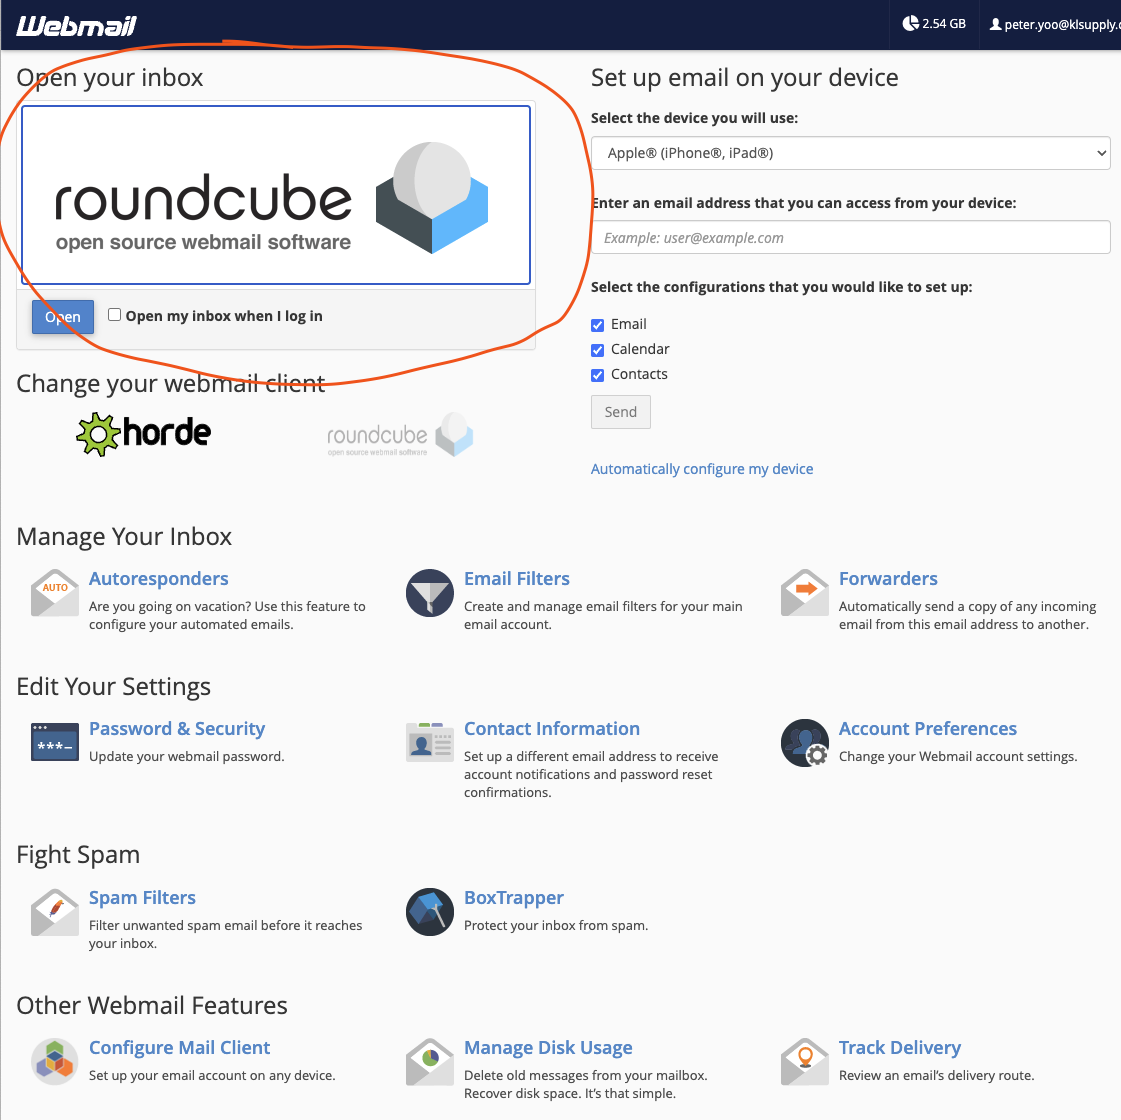
Once you logged in to the WebMail, you will see “Set up email on your device” on upper right hand side:
Put in an email that you can access on your Android/iOS device so once the instructions are sent to it, you can follow the instruction to set it up on the device
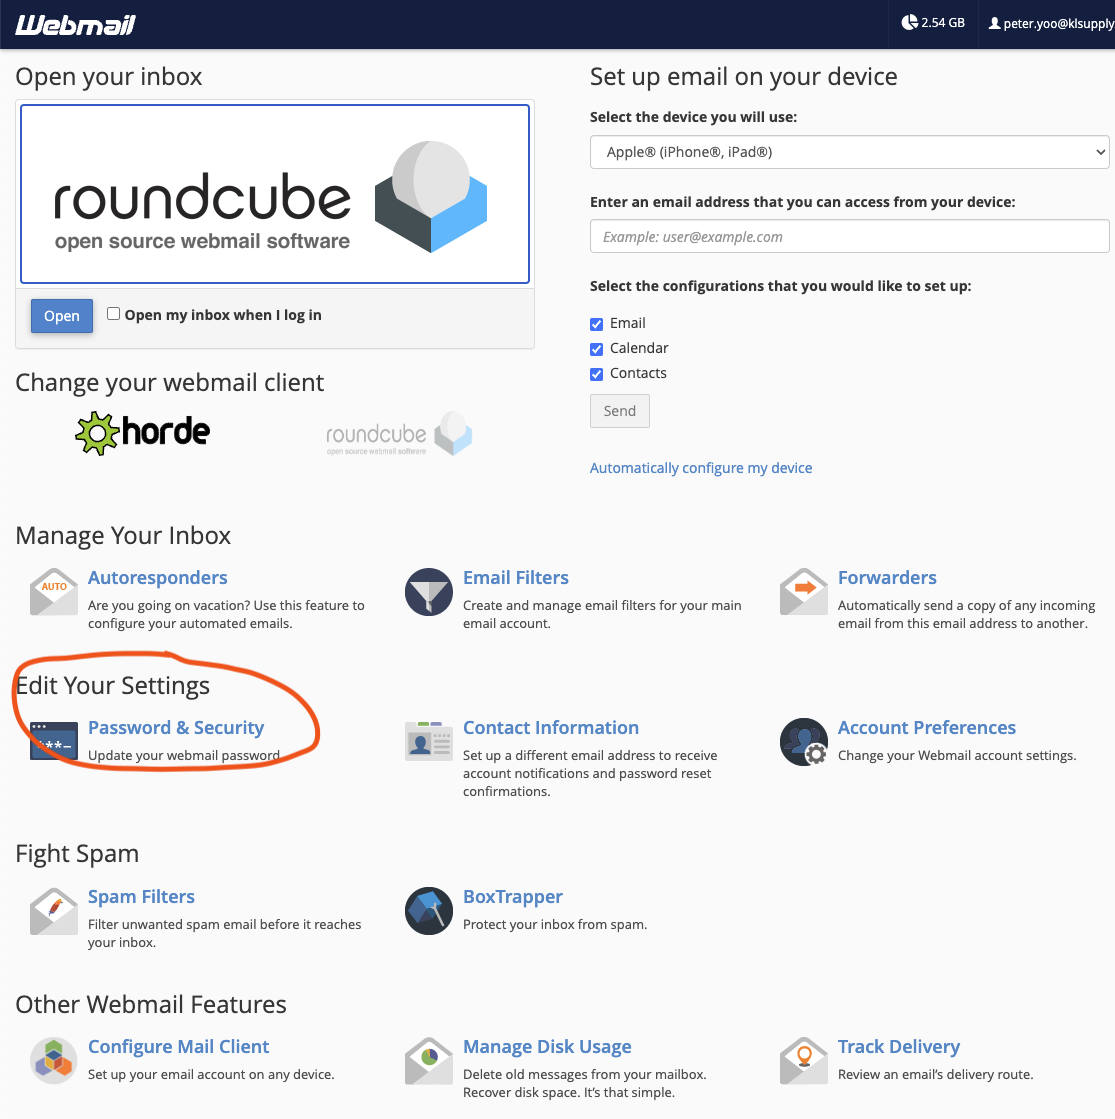
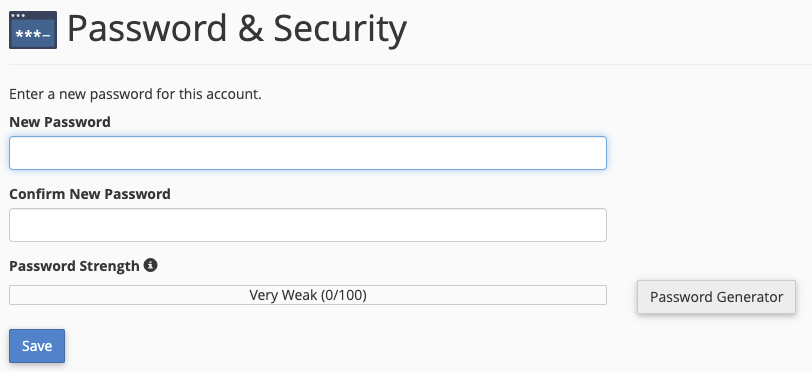
If you know your current email password, you can change it via WebMail and here is how…
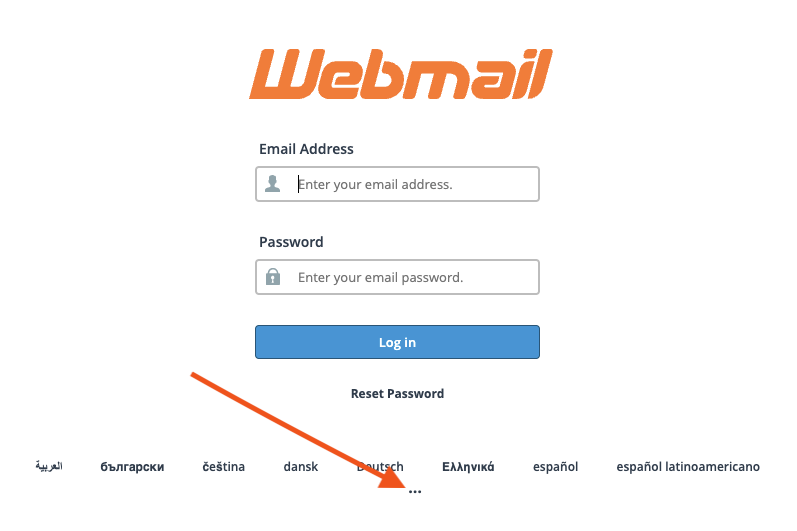
Visit http://webmail.klsupply.com and login with your full email address including the domain name, e.g., john,doe@klsupply.com and the current password
Office Music setup is Google Nest Hub and Google Nest Audio.
Google Nest Hub is the touch screen device next to Sharp printer in the office and there are two(2) additional Google Nest Audio Speakers on the walls.
Currently these are the users who has Spotify installed on their PC with the google account for the setup:
Cristina
Thi
Rich
The google account that is associated with the setup is : “knl.music01@gmail.com”
We are not sharing the password for “knl.music01@gmail.com” for security reasons so please do not logout from Spotify. If for some reason you need to login again, please contact Peter
There are multiple says to play music in the office via Google Nest:
play using Google Nest Hub
play using Spotify casting music to the “All Speakers – Office”
For #1, If you know how to navigate Google Nest Hub, you can run Spotify and cast the music to “All Speakers – Office”
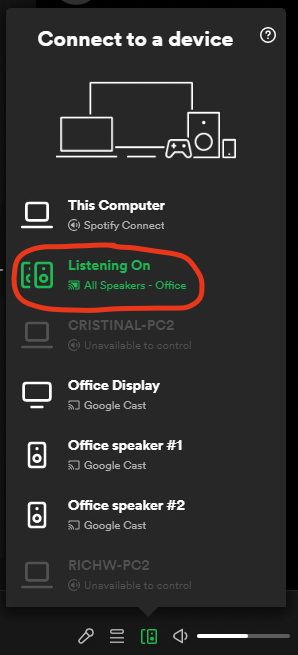
For #2, run Spotify app on your PC and look the cast button on the bottom right next to volume:
Then Select “All Speakers – Office”:
Now you can search and play any playlist from Spotify and the music will be played on “All Speakers – Office” including Google Nest Hub.
The volume on Spotify will be applied to “All Speakers – Office” at the same time.
Volumes can be adjusted on each devices – Google Nest Hub, Office Speaker #1 and Office Speaker #2 but this requires Google Home App running on a Android device… For now, please let Peter know if volume on each device needs to be adjusted.
At work, everyone use Microsoft Outlook application to access and manage @klsupply.com emails. However not everyone has Microsoft Office Suite on their personal computer and here is how to set up Free Mozilla Thunderbird email client application to access and manage @klsupply.com email on home PC/Mac or laptop.
Step1 – Thunderbird Application Installation https://www.thunderbird.net/en-US/ Click on the “Free Download” button to download the installer and follow the instruction to install the Thunderbird application on your PC or Mac
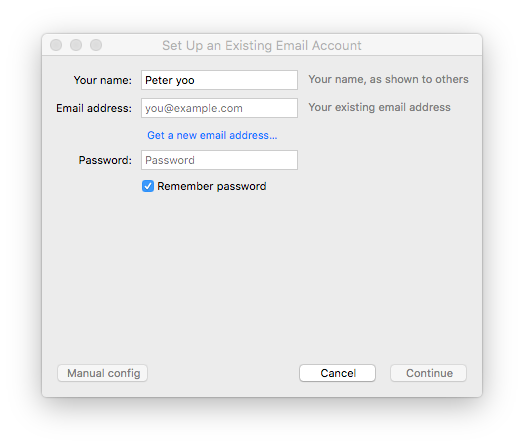
Step 2 – Running Thunderbird for the first time/Set up an email account Once it it installed, go ahead and run it then the following window will appear:
If you did not get this window, you can go to Tools -> Account Settings.
Here, you will need your email password. This should have given to you during the onboarding(first day) but if you forgot or do not have it, please contact support via support@klsupply.com to get your email password or get it reset.
The “Email address” should be your full email including @klsupply.com like “support@klsupply.com”
Type in your full email address and password then click on the “Manual config” button:
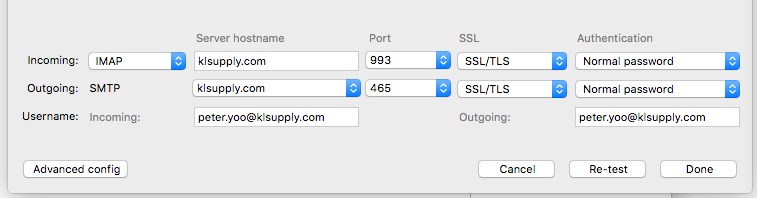
Here, please fill in the info as the following and also make sure all of the Port and selections are same as below:
Once, all of the fields and selections are verified as above, click on the “Re-test” button then click on the “Done” button:
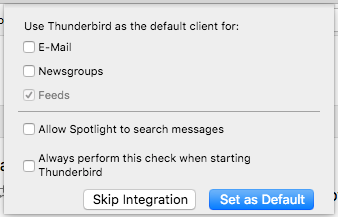
It is up to you to set Thunderbird program as default email/Newsgroups client on your computer if it is personal computer, you may not want to make Thunderbird email client with your @klsupply.com email to be default email client…
In this case, I will un-check all check boxes and click “Skip Integration” to finish the setup.
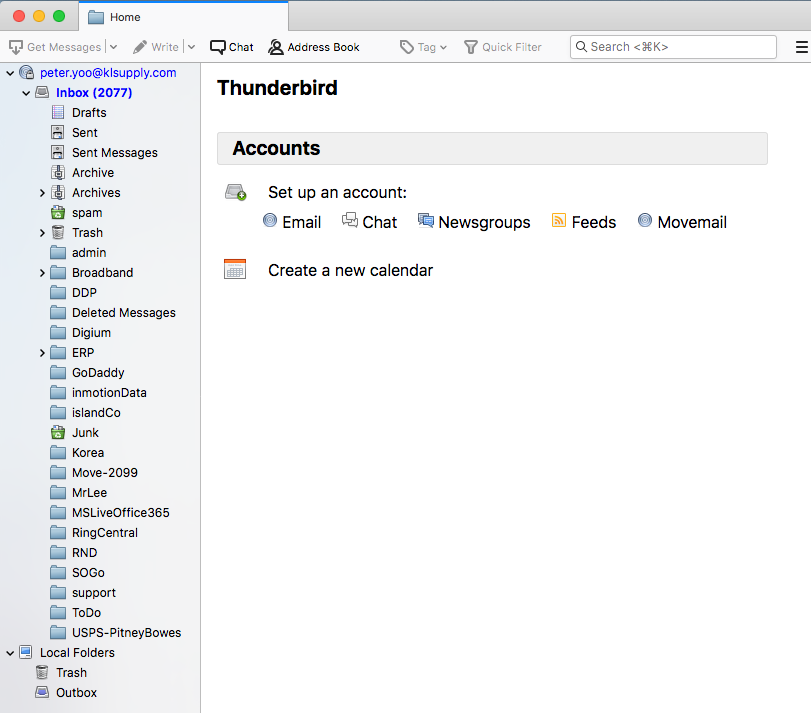
Now, on left side of panel on Thunderbird application, you will see all of the email folders on your inbox and all of the new emails will be pulled down onto your computer like:
We are switch over to “paperless” eFax by RingCentral.
This will allow us to send faxes via email and also receive fax into email inbox.
Fax numbers by department
Department
FAX Number
Manager
Inbound email
Inbound Fax Recipient(s)
Accounting
408-389-7840
David
fax-acct@klsupply.com
David/Thi
Customer Service
408-727-4842
Rich
fax-cs@klsupply.com
Rich
RnD/OEM/Purchasing
408-727-4305
Rich
fax-rndoem@klsupply.com
Rich
Sales
408-727-1576
Sarah
fax-sales@klsupply.com
Sarah
The “Inbound Fax Recipient(s)” will receive inbound faxes of the fax number via email with PDF attachment.
The outbound fax contents can be one of the following:
PDF File
Microsoft Word Document File
Microsoft Excel Document File
TIFF, JPEG, etc Supported File Attachments for Faxes
Here is HowTo send faxes via email:
In your email client, create a new email.
In the recipient’s box, enter the 10-digit fax phone number of the person or business you are faxing followed immediately by “@rcfax.com”.
Attach the file you want to fax.
Add a text on the subject line if you’re going to add a cover page.